Global location management screen
This topic provides an overview of the Global location management screen and all the settings and buttons on it. However if you require step-by-step procedures on using it refer to Using Global location management.
This feature is only available to administrators, or users who have the Global locations manager permission selected on the Edit user screen.
The Global location management screen allows you to add locations of interest to your OSS-ESPA account. These locations are different to case locations as these locations are used globally across OSS-ESPA. Global locations can help you identify potential suspects by using the data in existing cases, and they can also help you monitor the location of existing target devices via Smart Track notifications configured to a global location.
There are a number of ways you can use this screen, for example:
-
You can import your crime data and your partner SRN agencies crime data to the Global Location Management screen on a regular basis, such as weekly or monthly. OSS-ESPA then analyzes all case data, including CDRs and geo-location data from GPS pings, GPS tracker and LPRs, and creates an x-case alert on any cases where a target device was identified at the locations. This helps you connect cases across a region without relying on an integration partner.
-
You can add your new crime location as a global location then OSS-ESPA automatically analyzes all the existing case data and creates an x-case alert on any cases where a target device was identified at your crime location during the incident time you specified.
-
You can add locations or import location files containing the addresses of areas of interest, such as public buildings and airports. Once these locations are in your OSS-ESPA account, from within the Global Location Management screen you can then set up geo-fence and reverse geo-fence Smart Track alerts on the location. These are then applied to every active Smart Track case. For example, if you added your local airport addresses and enabled a geo-fence Smart Track alert, all account users with active Smart Track cases will receive a Smart Track notification if their target device is close to the airport.
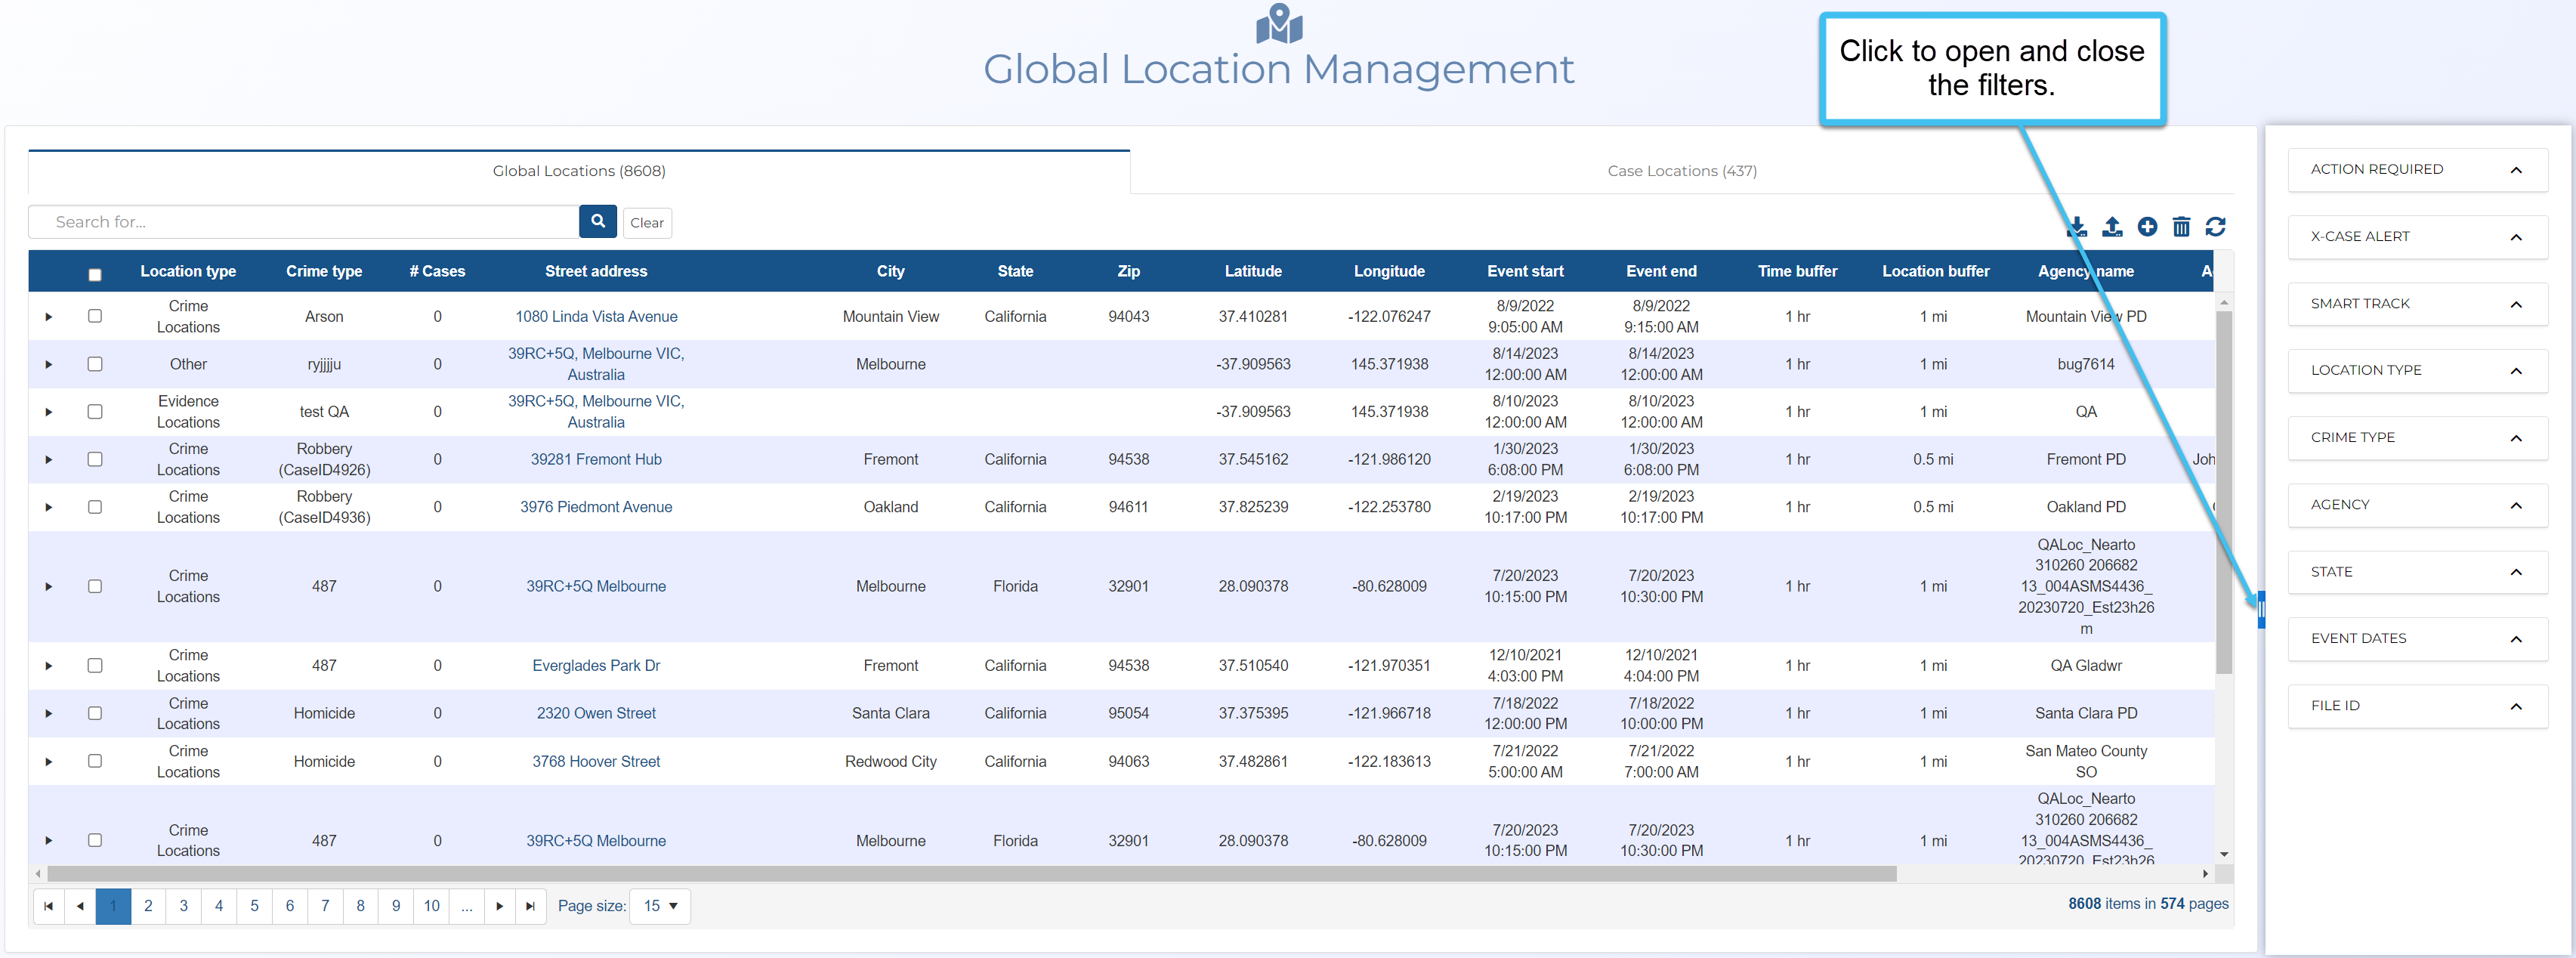
You can open filters to the right of the screen that allow you to apply a combination of filters.
-
The Action required filter is important to use after you import files as it helps you quickly identify locations that OSS-ESPA was unable to identify the address for because there was more than one location with the specified address details. Before the location can be analyzed you must select the correct location.
-
The X-case alert filter allows you to filter locations that show an alert. You can then click on a location to expand it to display all the cases and devices that were found by OSS-ESPA to be at that location.
The screen has two tabs:
-
Global Locations: lists all your global locations and is the main tab you use on this screen. From here you can view the x-case alerts, add the location to the case if you think it may be relevant, and after you have investigated them, if you determine they are not relevant to the case you can mark them as such. For further information refer to How to use the global location x-case alert to identify potential suspects.
-
Case Locations: lists all your case locations. The list is provided here so that you have one place to view all the account locations if needed. You can click on the case name to open the Manage case screen, and the location name to open the Location Information window.
Use the search field to search for specific words and numbers. This search field searches for results in the following columns: Street address, City, Zip and Report number.
Click to clear the search field and update the results displayed on the tab.

Click to open the Global locations upload screen which allows you to upload a file containing multiple locations, for example a crime data file. For the file to be of most benefit it must include: identifier, category, name, department, street, zip code, city and state.

Click to export the global locations to a csv file. If you have a search applied to the list, only the identifiers matching your search are exported.

Click to add a global location. The Location Information window opens.

Click to remove the locations that have their check-box selected from the global locations list.

Click to refresh the tab to ensure you are displaying the most up to date list of locations. For example, if you opened this screen while importing a large global locations file then you can click to display the locations that have imported.
Click the street address to edit the selected location on the Location Information window.
Use the search field to search for specific words and numbers. This search field searches for results in the following columns: Street Address, City, State and Zip.
Click to refresh the tab to ensure you are displaying the most up to date list of locations.